Food Photography Lighting Setup: Burger

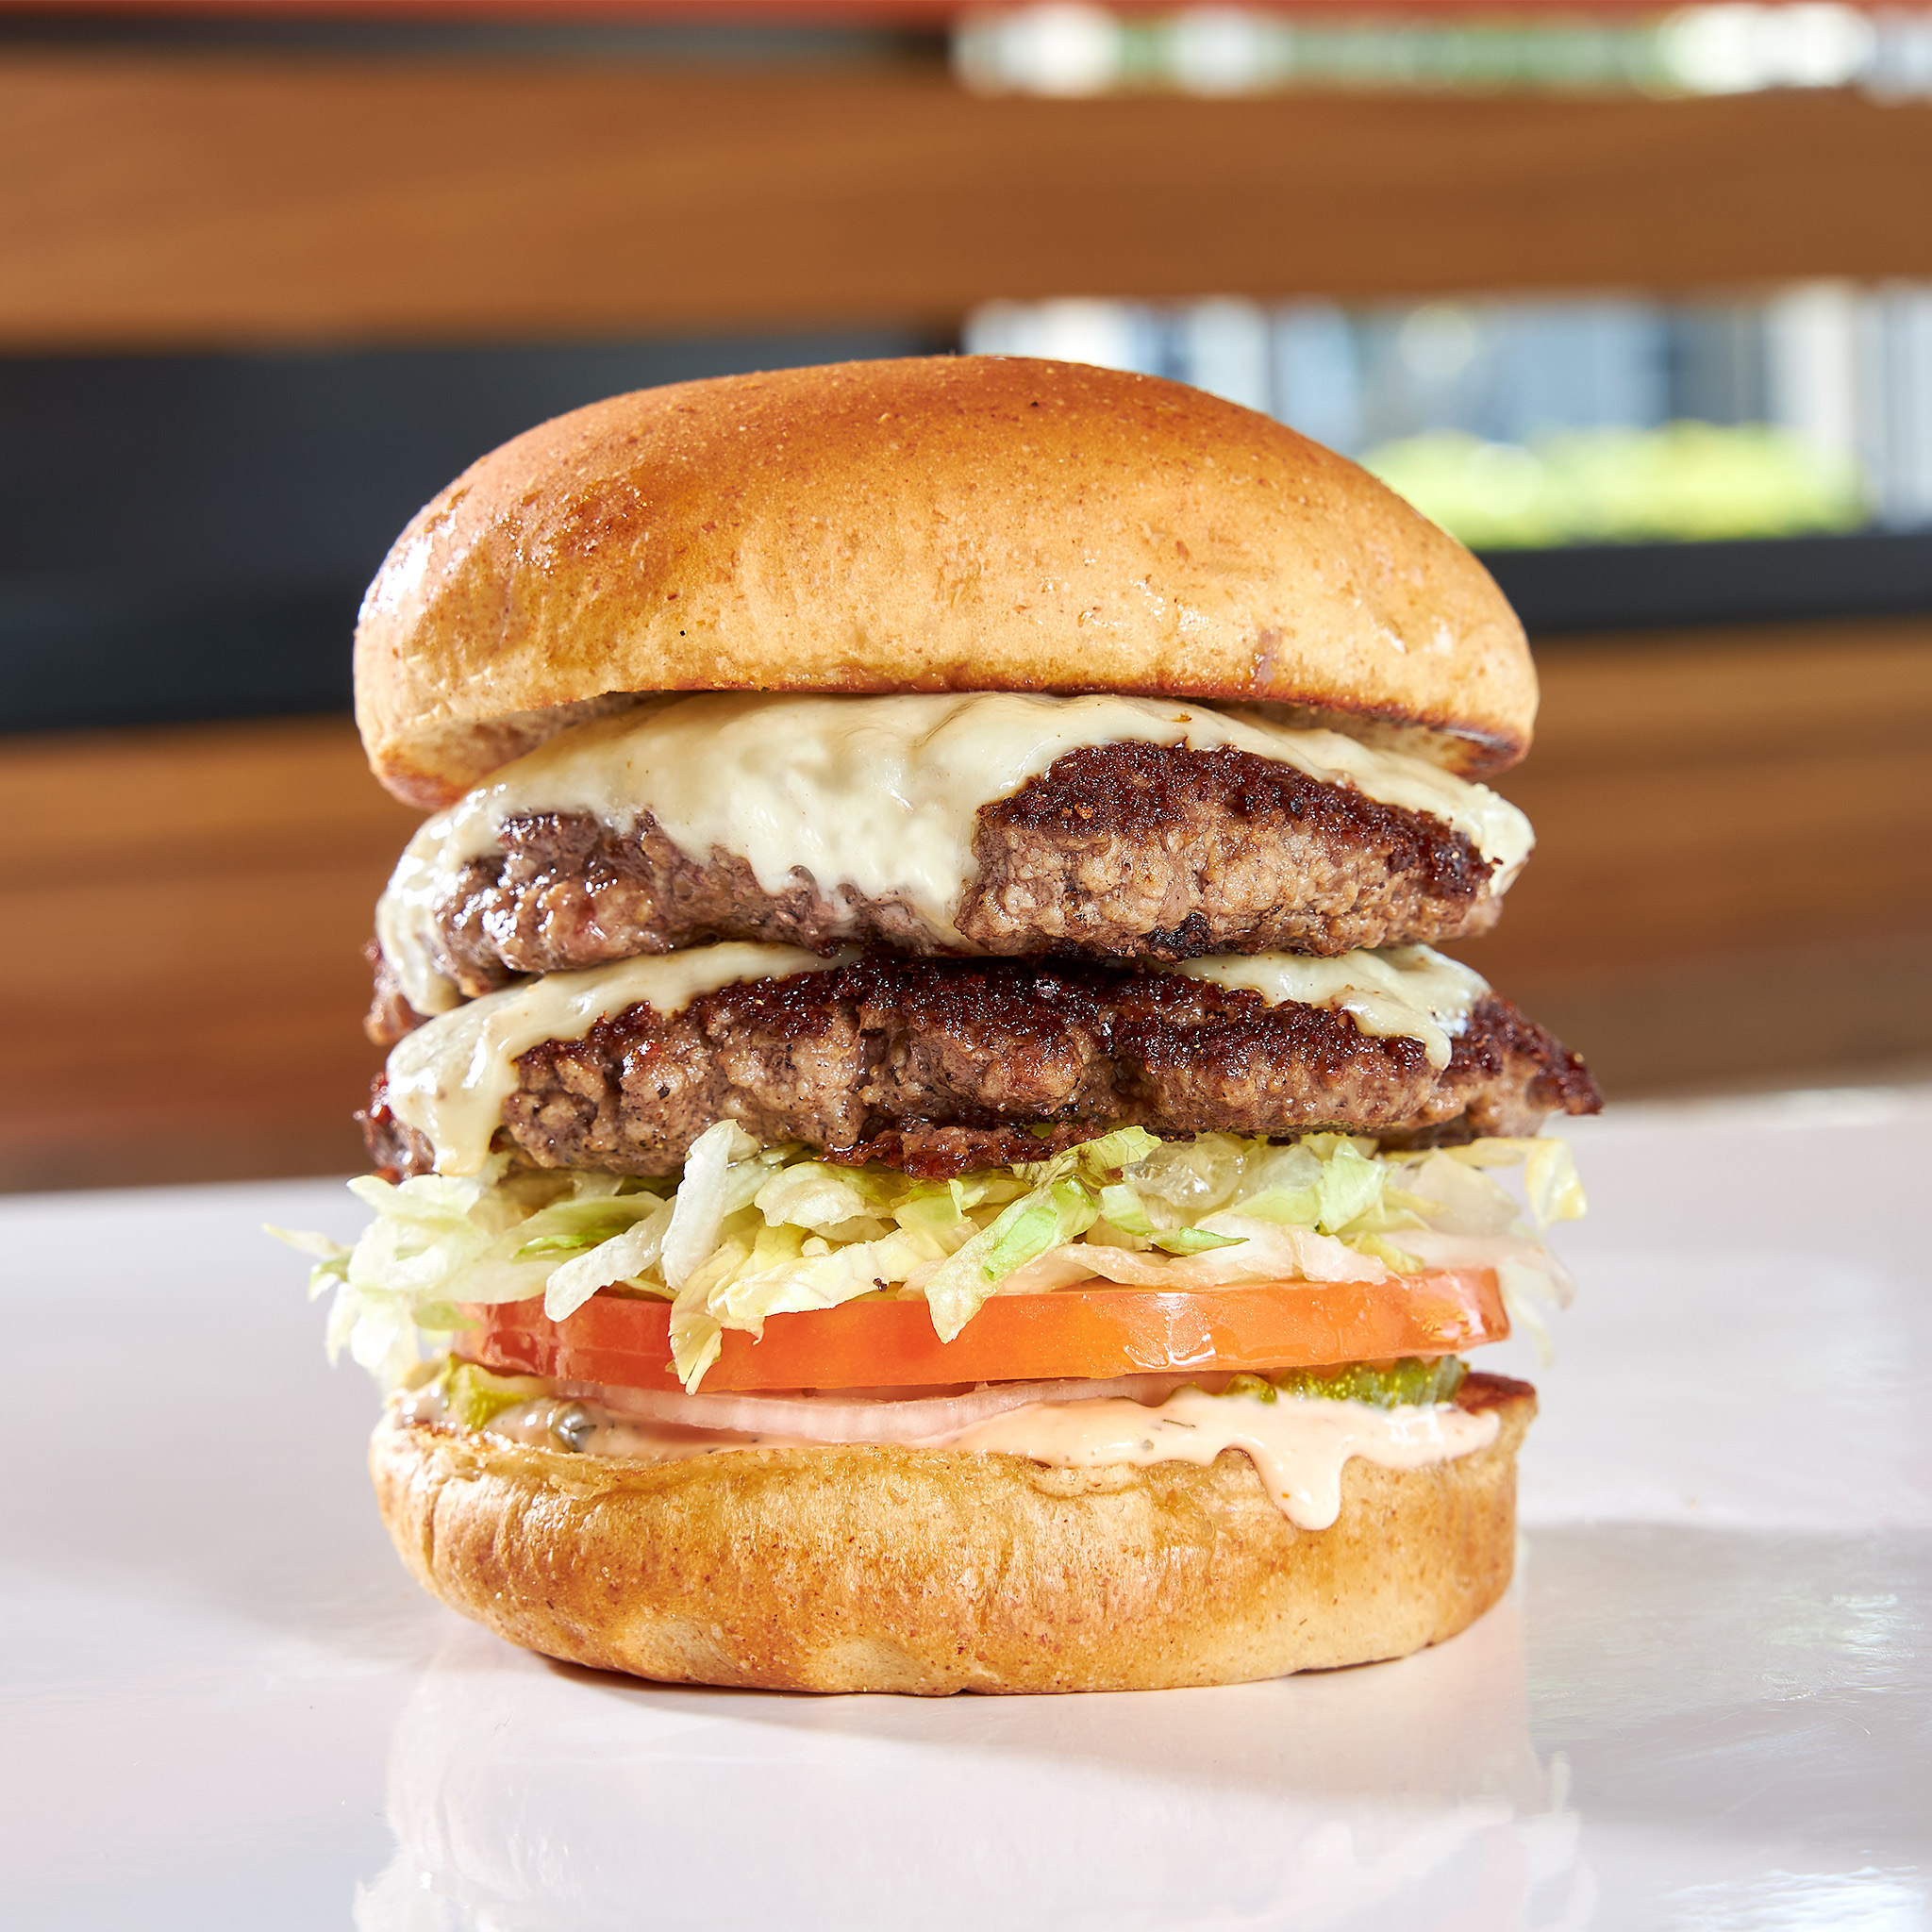
I’m often asked for my “go to” food photography lighting setup. There is no single setup that’s going to work for all food, but there are some general rules. Today we will focus on a cheeseburger lighting setup and talk a bit about why it works for a shot like the above. This is an in-restaurant shot done in a short time on a modest budget without a professional food stylist, the marketing team at Burger Lounge styled this in house. A bit of simple retouching was done on the cheese and table surface, but that’s about it. Check out my YouTube short video below to get a quick scan of the room and setup. (Don’t forget to subscribe to the channel!)
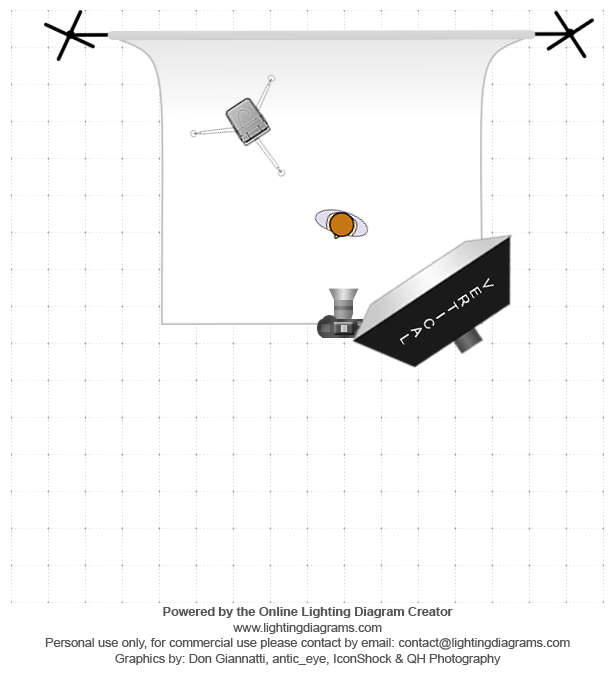
As you can see I am using one light (Flashpoint Explor 600) in a 2’x3′ softbox with all the diffusion material removed. The silver interior sans diffusion fabric makes a bit snappier lighting which creates the specular highlights on the burger patty we want to see here. They will make the meat look glossy and juicy.

For the second light, I am using an AD 300 Pro in a standard 6″ bare reflector and this is coming from behind and camera left to light up the left edge of the burger, creating a bit of separation from the background, and again a bit of extra gloss on the patty. The main light is set up much like it would be for a portrait, with about a 45 degree up and over position. The reason this works in this case is the light source reflecting back to the camera provides some highlights. With food photography, we’re typically trying to get our light source to reflect in the item, much like we’d try to get a catchlight in the eyes of a portrait. For flatter plates of food, this often means we will backlight. For a burger however, it will be too dark if we don’t provide some front light. Position your front light in a way that causes it to bounce back to the lens as much as possible. Keep and eye on the blog and YouTube for more food photography lighting ideas which I will post soon!
